Pro Tools Track Management
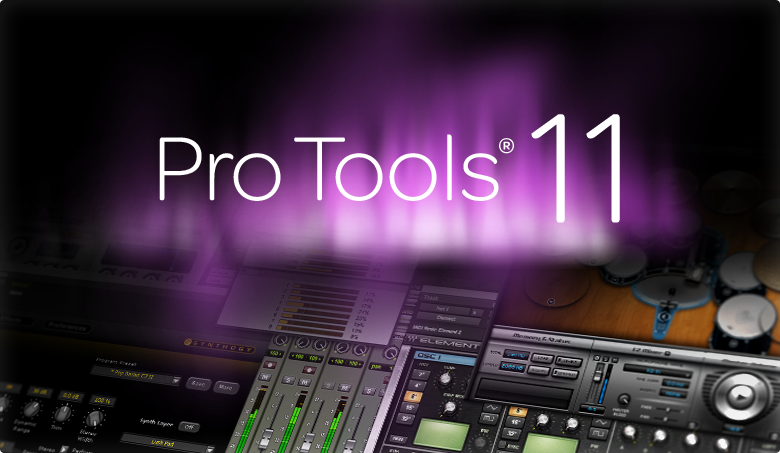
CRAS was the first audio recording school to ever certify in the digital audio workstation known as Pro Tools. There are many DAWs out there, and everyone has their favorite, but Pro Tools has been one of the industry standard apps for a long time now. For this reason, we like to focus on training our future audio engineers in all the ways Pro Tools works, and how you can make Pro Tools work for you!
When it comes down to it, Pro Tools is basically a digital multi-track recording program. Throughout audio recording history, having the ability to multi-track has allowed us to increase the quality of our recording projects immensely. While the music we listen to is – for the most part – just a final two track mix (or in some cases a 5.1 surround mix), getting a full band with various instrumentation recorded takes time, patience, and a lot of recording space to get it done right.
The Beatles typically used a four track recorder in the 60s, when they first started making records. This allowed one track for the vocals, one for the guitar, one for the bass, and one for the drums. Through some audio wizardry, and bouncing tracks together, they were able to layer instruments to get a fuller sound coming out of the speakers for the final product. Over the years audio engineers and technicians have worked on expanding the capabilities that we have by allowing us to have more tracks – in some cases more tracks than you could possibly use! For example, Butch Vig would use anywhere from 16-20 tracks just for vocals when he worked with Garbage, and would have sometimes up to 60-70 tracks for just percussion! That’s crazy!
These kinds of crazy high track counts would have been hard to do before the advent of digital workstations. While it was possible to bounce tracks down and sum mixes together, that takes a lot of time and a lot of skill, and in many cases if you don’t get it right the first time you get to start all over from the beginning! Most 2? tape machines, like the ones we use here at the Conservatory, offer 24 tracks of recording, so to get crazy high track counts, knowing how to use Pro Tools is definitely a great advantage.
In this first video in our series of Pro Tools tutorials, instructor Phil Nichols goes over the importance of Track Grouping. Grouping tracks together makes a lot of operations easier, such as performing fades, volume changes, solo or mute groups, and creating visual distinctions to allow us to easily see what set of instruments we are working with.
Another great feature of grouping tracks is the ability to show and hide track groups. This allows you to focus on only the tracks that you need to work with. So, if you have a massive session with 60 or more tracks for example, instead of having to scroll back and forth across the screen, you can simply hide all the tracks you aren’t actively working on and save yourself some time and headaches. Not only can you display one group at a time, or hide one group at a time, but through the use of modifier keys – such as Control and Shift – you can show or hide multiple groups as well!
Showing and hiding groups on its own is a pretty neat feature, but the whole idea of hiding unnecessary tracks is so we can maximize the use of space we have available on the screen. Using focus keys, or keyboard quick key alternates, we can change the size of the remaining viewable tracks, but now we are talking about stringing sets of commands together. It is possible to combine these commands into a more simplified package! This is where memory locations can come into a great use. For the most part, memory locations are used to store a particular time in the timeline of the session, but there are other properties that can be stored within these memory presets. As a matter of fact, memory locations don’t even need to store a time location at all!
Finally, this last option is to use what are known as VCA faders in Pro Tools. This feature is only available in Pro Tools HD systems, or Pro Tools Native systems with the complete Production Tool Kit. VCA itself stands for Voltage Controlled Amplifier, and is a throwback to analog consoles. Some consoles that are commonly found in recording studios, such as our SSL 4000 series, also feature this VCA style automation, where you can have one VCA “master” that controls whatever other tracks you would like to have in the group.
This differs from the other, first style of grouping that we talked about. With the standard track group, each member of the group can act as a master, and all the other tracks in the group will move with it together. However, with a VCA master, only the master controls all the members of the group. This allows the operator to easily change one member of the group without affecting all the others.
